with applicationtapeeasy & fast
Self-assembly of stickers and license numbers
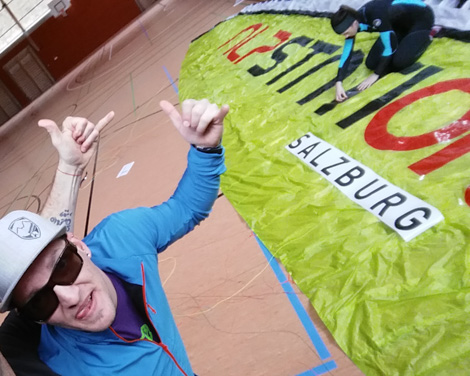
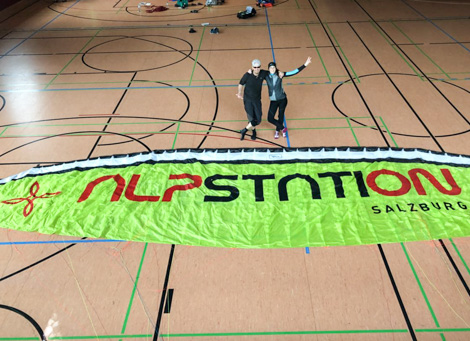
In principle, self-assembly is possible. A little experience in this area is an advantage. At least 2 people are required (3 people would be ideal) and a sufficiently large, clean area (e.g. gym).
Lay out the glider flat and sort the lines. Determine the position for the label and place small marking points for the base line. It would be ideal if the sticker was between two levels of lines. It is better to position the label more towards the leading edge than towards the trailing edge of the sail. Roll out the sticker and draw the base line.
Start in the middle. Press the transfer film firmly with a cloth before assembly. Then carefully peel off the protective paper and place the sticker in the desired position. 2 people stretch the undersail area, the third person presses the sticker on. IMPORTANT: Work without creases! Let the sticker rest for approx. 10 minutes (glue activates) and then carefully peel off the transfer film.
If a line attachment point has been glued, then slightly peel off the sticker at that point, cut it and pull the line through. Stick the sticker flush. If the lettering is made using several strips, then stick the next strip on with a 1cm overlap. Finally, check that ALL lines are really free.
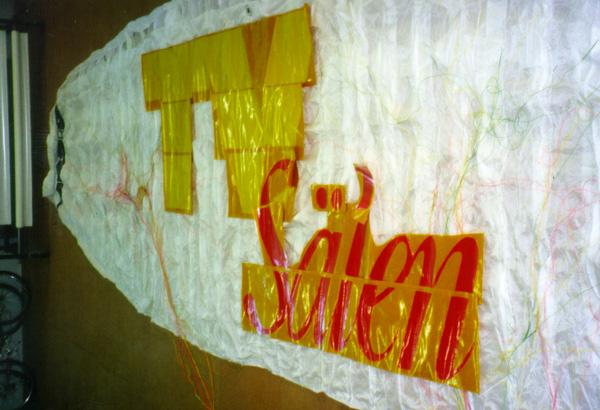
Position stickers in advance.
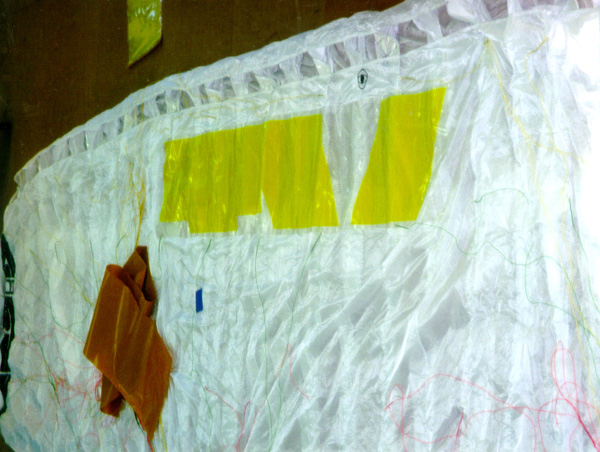
First track sticker.
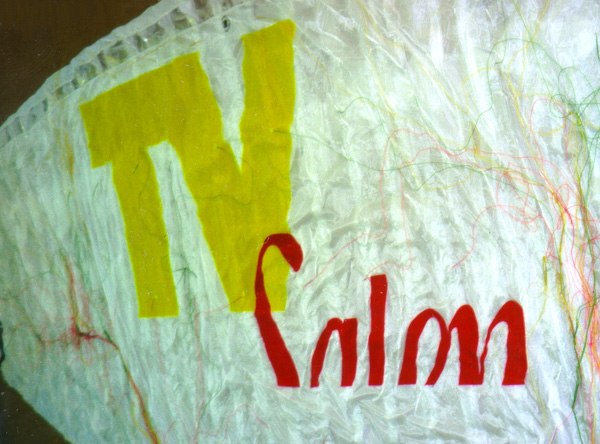
Glue the remaining strips with a 1 cm overlap.
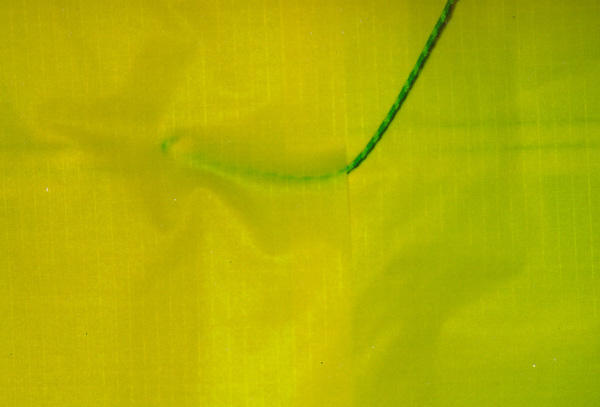
Where a sticker meets a linkage...

... carefully cut the sticker, pull the line through and...
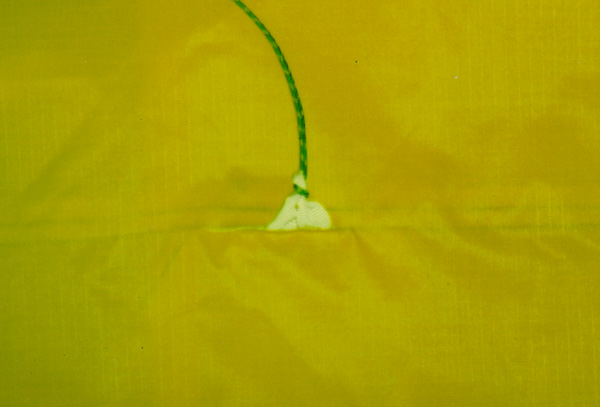
... re-stick the sticker flush...
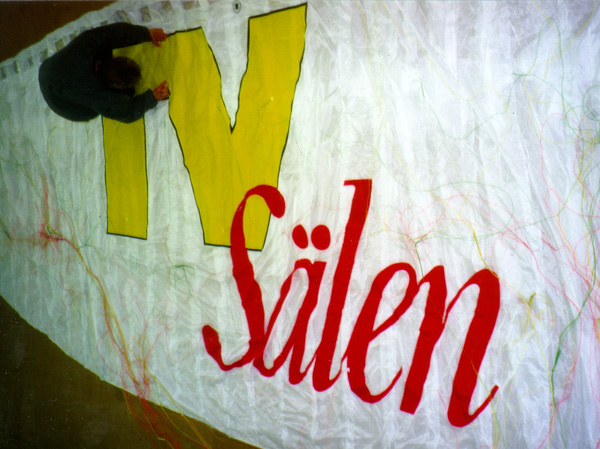
Finally, check all lines again.


